Projection options: how to pick the right display style for your space
Projection options can turn an ordinary wall into a spellbinding scene. Start small and focus on one idea. Pick a bright surface, plan the content and test the throw distance of your projector. Work slowly and make small changes. You will learn fast by trying different positions and heights.
Why choose different projection styles
Projection options help you match the mood to the moment. For a cosy night in, a gentle looped animation on the TV feels warm and personal. For a party, a big wall projection creates impact. For seasonal displays like an Advent window, projection through a film to the outside draws attention without much fuss. The styles all share one thing: they let you control atmosphere without heavy décor. A soft moving texture can change a room more than a painted wall. When you understand the strengths of each method, you pick the easiest and most convincing setup for your space. Think about lines of sight. Think about where people will stand. Think about the light sources at different times of day. These considerations will guide each practical choice. Keep your plans simple at first. Swap hardware and content in a test run. That early test will save time and avoid awkward last-minute changes.
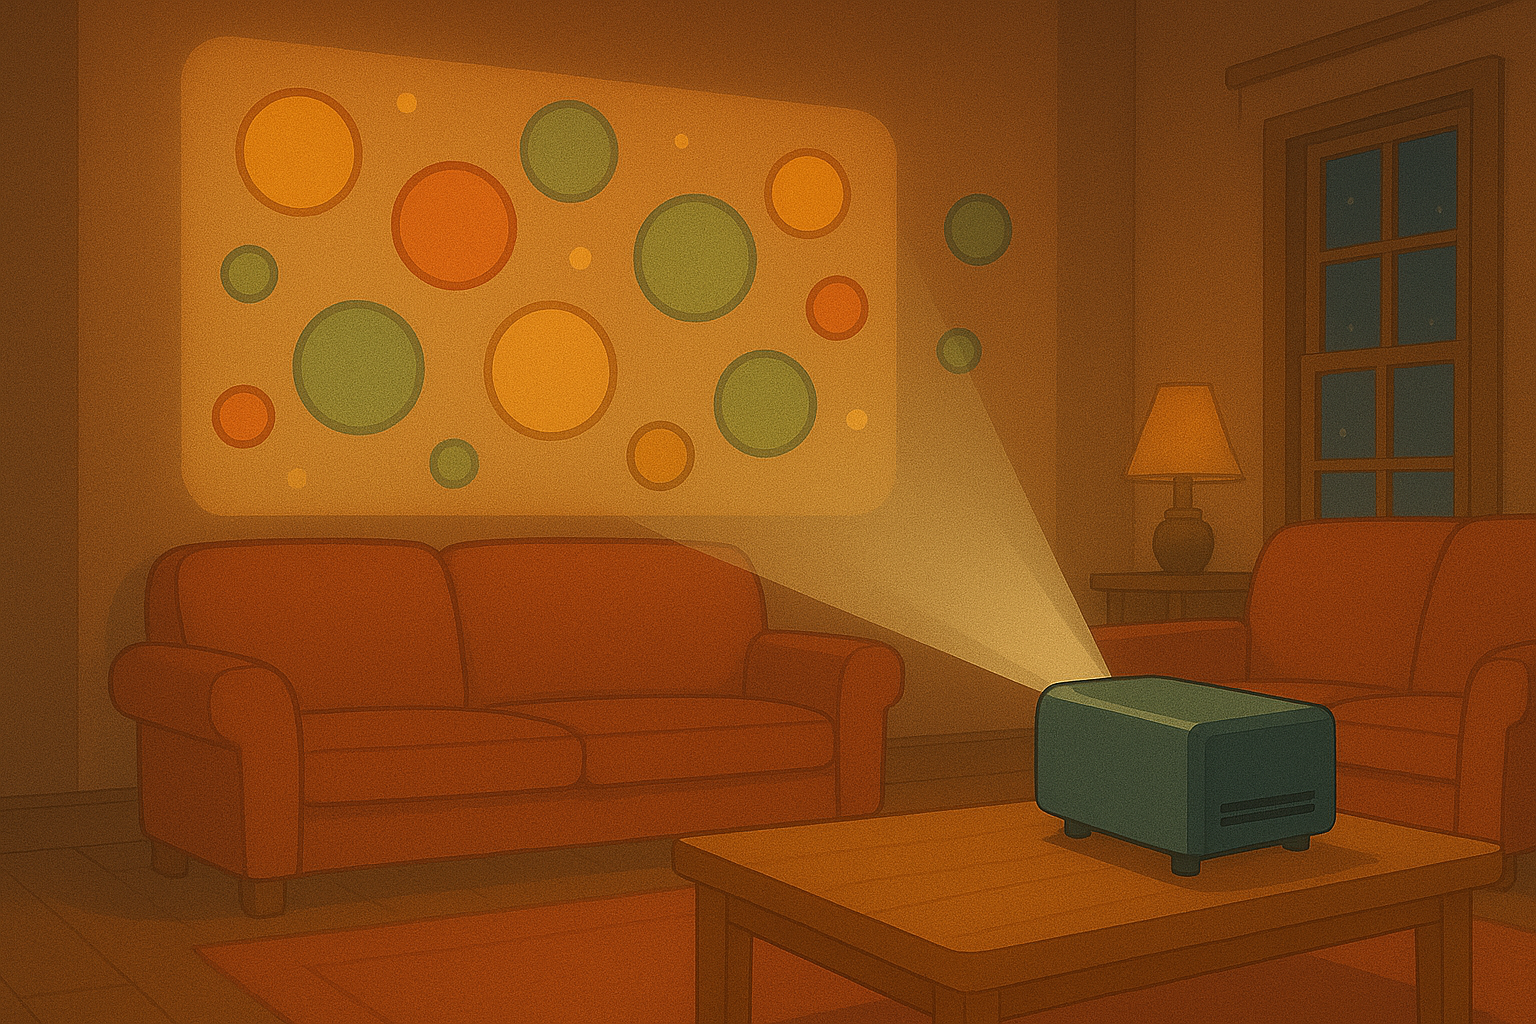
Wall projection: big, bright, immersive
Projection options for walls are ideal when you want scale. Use a projector with enough lumens for your wall size and the ambient light level. Place the projector at the correct throw distance to fill the area you want. Avoid uneven surfaces. A smooth, light-coloured wall gives the cleanest image. If the wall is textured, try a thin diffuser fabric or paint with a matte finish. Keep cables tidy and secure them to avoid trips and distractions. Also think about sound. If your visuals have audio, pair the projector with a small soundbar. Place seating so people face the image without tilting their heads. For events, consider multiple projectors to cover a wide wall. Use blending or edge-mapping to join images smoothly. For home use, a single well-placed projector often gives the best value. Projection options on walls let you change scenes quickly. Swap an animation for a static backdrop between sets. Rehearse transitions so they feel natural. Make sure any projector you pick has a quiet fan if the audience is close. A loud projector breaks the mood. Finally, protect your projector from dust and heat. Keeping the lens clean keeps the image sharp and the colours true.
Window projection: glow that works inside and out
Projection options for windows are wonderful for seasonal displays. With rear-projection film, you can create a display that reads well from outside but stays cosy inside. Fit the film cleanly and use a projector placed behind the glass or inside facing out. Test the view from the street at different times of day. Street lighting and nearby shop windows can change contrast sharply. Choose high-contrast designs and simple shapes for the best read from a distance. If you show text, pick big, bold fonts. If you show patterns, keep motion slow and gentle so it does not distract drivers. Mounting matters: secure the projector on a stable shelf or a small bracket. Protect cables and use weatherproof covers if needed where the projector sits near an open window. Keep ambient interior lights low when the display runs. That will make the image pop to passers-by. For community projects like an Advent window, rotate content nightly. Projection options on windows give you a neat way to tell a small story across consecutive evenings, with minimal setup each time.
Schwebende Netze: the floating-mesh effect
Projection options using thin nets or gauze can create a truly magical, floating image. A fine mesh hung in front of a backdrop allows light to pass through and creates depth. Use a projector behind or in front depending on the look you want. Back projection gives you a soft, ethereal glow. Front projection highlights motion and texture. Secure the net so it hangs flat; ripples or folds will distort the picture. For multi-layered effects, hang several nets at different distances. That lets you animate foreground and background separately for a 3D feel. Keep the area dark for the best illusion. Small, subtle movement on the nets amplifies realism. When people walk through the mesh, plan the interaction so it adds, rather than breaks, the effect. Projection options with nets reward experimentation. Try different fabrics and weave densities. Some meshes accept more detail, others blur the edges for softness. Make sure the material is fire-retardant when used in public spaces and check local safety rules for temporary installations.
TV and direct-playback: simple, reliable and neat
Projection options on a TV are the easiest to set up. Use an HDMI cable, a streaming stick, or our app to send animations straight to the screen. This suits small gatherings and everyday decoration. A TV gives you a crisp image without worrying about ambient light or throw distances. Mount the TV at eye level and choose content that fits its aspect ratio. For a cosy look, loop short animations or ambient scenes. For parties, mix animated pieces with countdown timers or text overlays. Keep the media files lightweight to avoid playback hiccups. If you want large-scale motion, put a TV near a wall and use the screen as a focus point with supporting wall projections around it. Projection options that mix TV and projector create layered scenes. Test colour profiles and make sure the TV's motion settings and energy mode suit your content. A smart TV also lets you schedule playback. That is handy for regular displays in public spaces or a front window that lights up each evening.
Choosing the right projection options and final tips
Projection options are about matching intent, space and budget. Start by listing what you want to achieve. Do you want a gentle mood, a bold statement, or an interactive moment? Choose your surface, then pick a projector or screen that fits. Consider brightness, resolution and portability. For quick setups, a TV or a compact projector is best. For dramatic scenes, go bigger and plan for mounting and power. Test everything once, then again under event conditions. Document your final layout and cable routes so you can repeat the setup. Keep spare bulbs, cables and adaptors close by. Safety matters: secure gear and avoid long loose cables across walkways. If you expect crowds, use cases and covers to protect equipment. Finally, have fun and be ready to tweak. Small changes in distance, angle or content often make the biggest visual difference. Projection options let you tell stories without heavy props. Try one style, learn the quirks, and then mix approaches to build richer, more memorable displays.
Popular projections